Dashboard Views
Dashboard Views are created to specify and organize reports generated while running object simulations. Dashboard Views are specific to object types
- When running jobs users can select a dashboard view from a dropdown list of registered dashboard views for the object type
- In simulation details dashboard views are filtered by object type
How to create a Dashboard View
- Click on the Resources button on the Home page
- Click on Resources
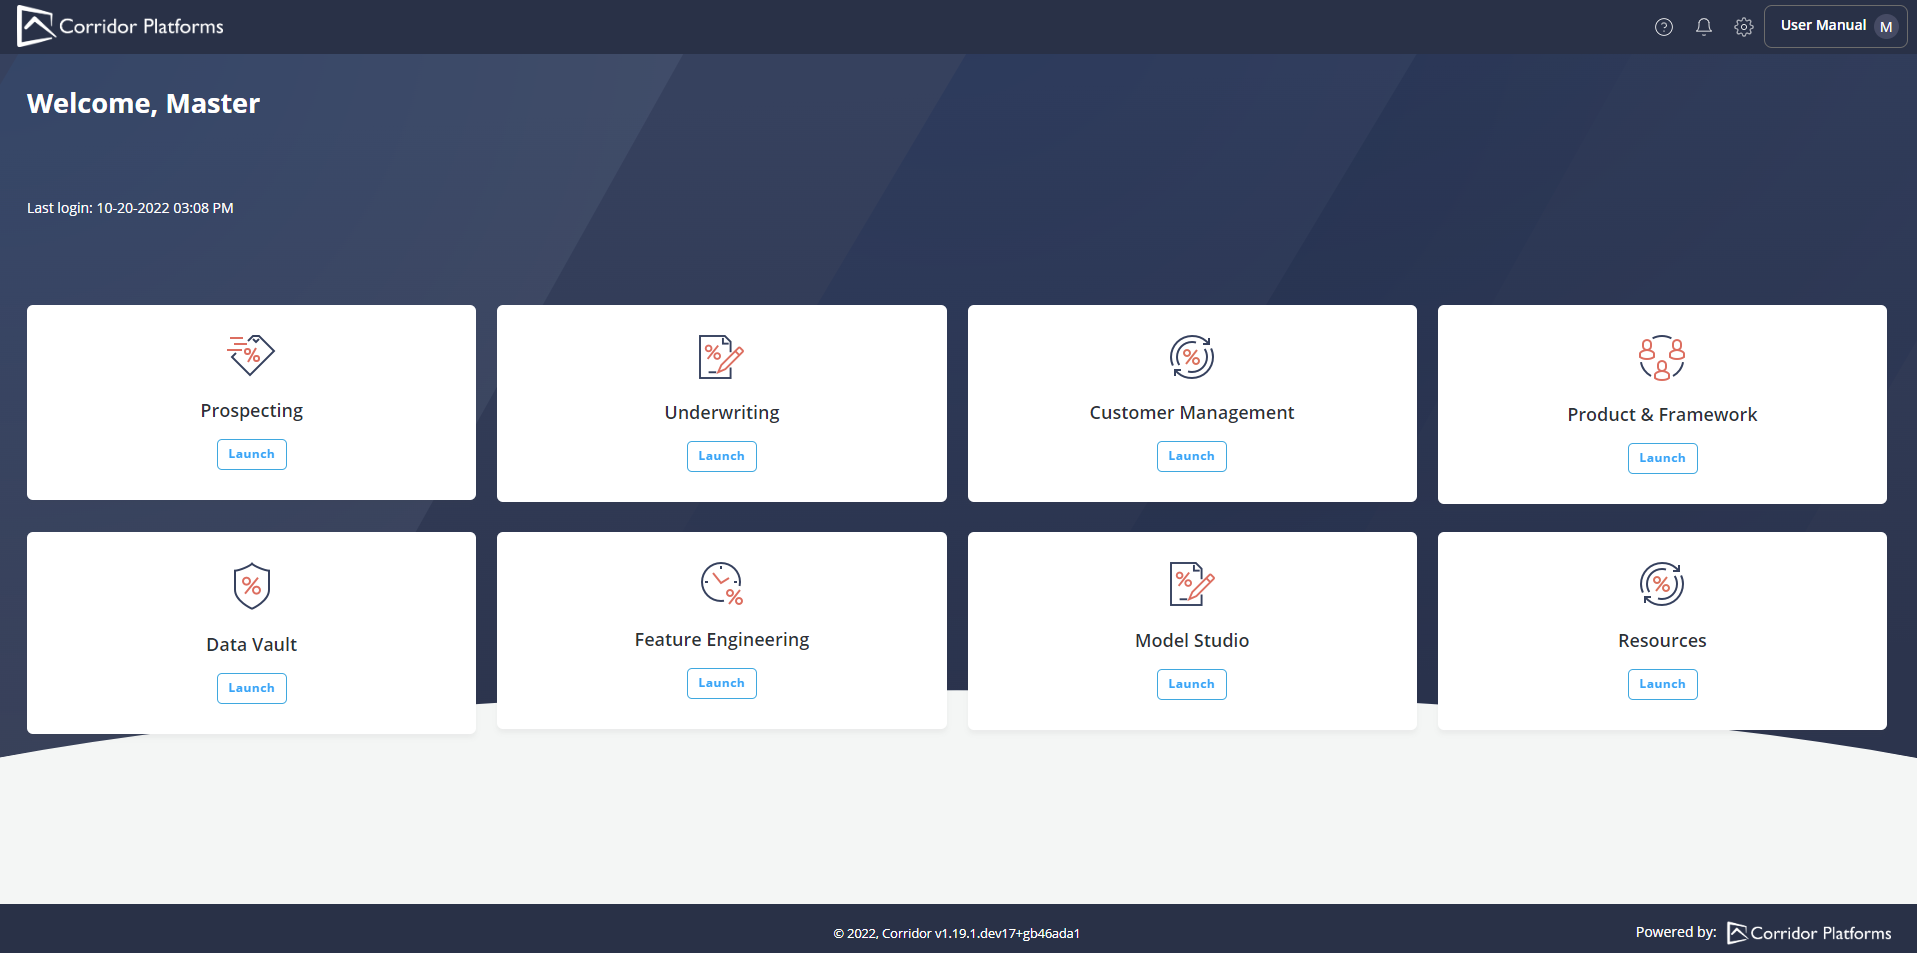
- Global Functions window is opened by default, click on Dashboard Views. Then click Create.

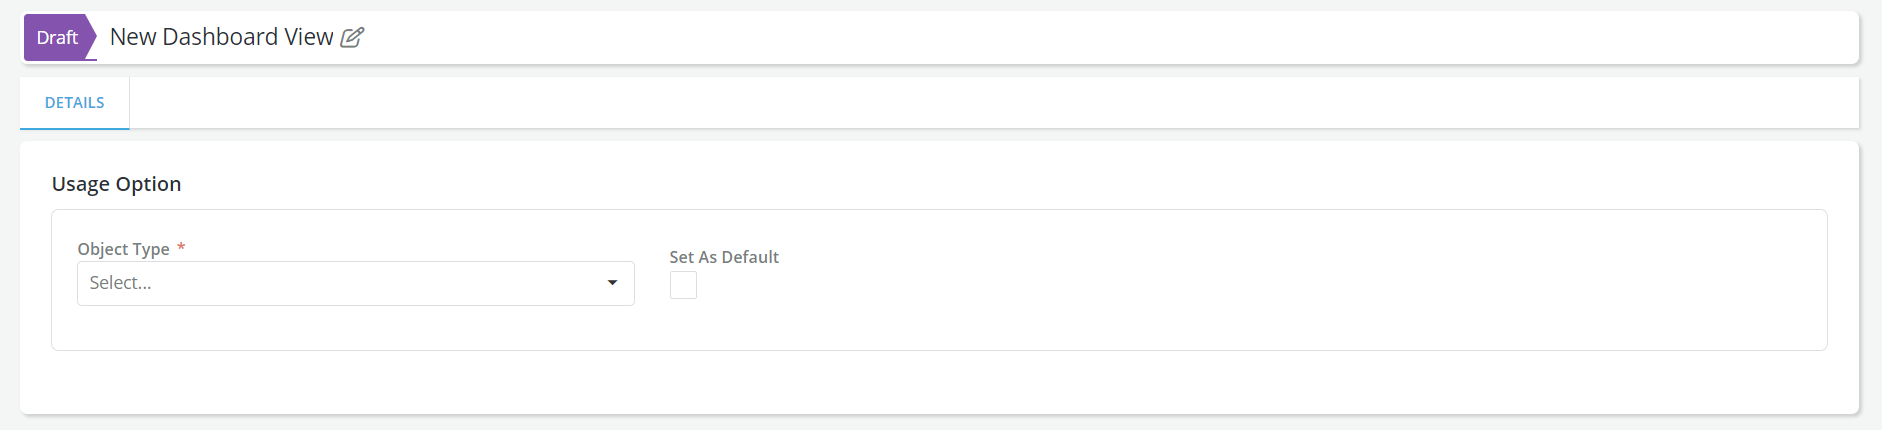
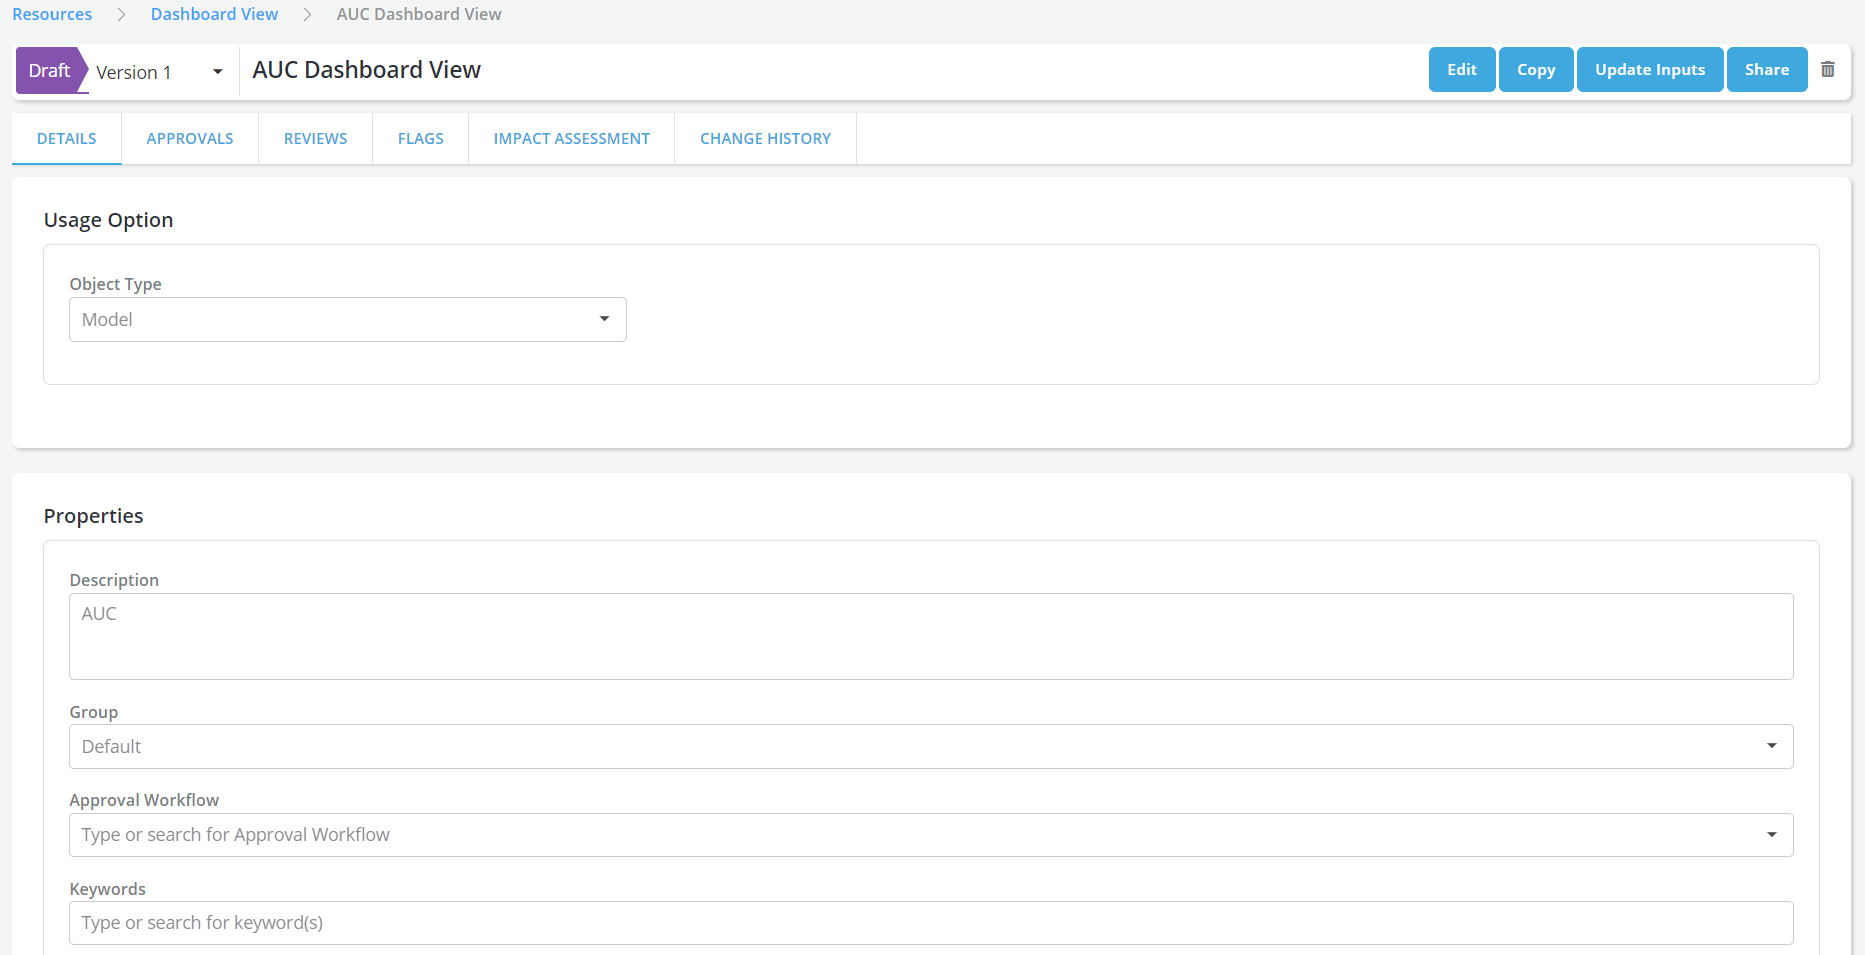
- Enter the Name of the Dashboard View
- Select the Object Type
-
Enter the Description
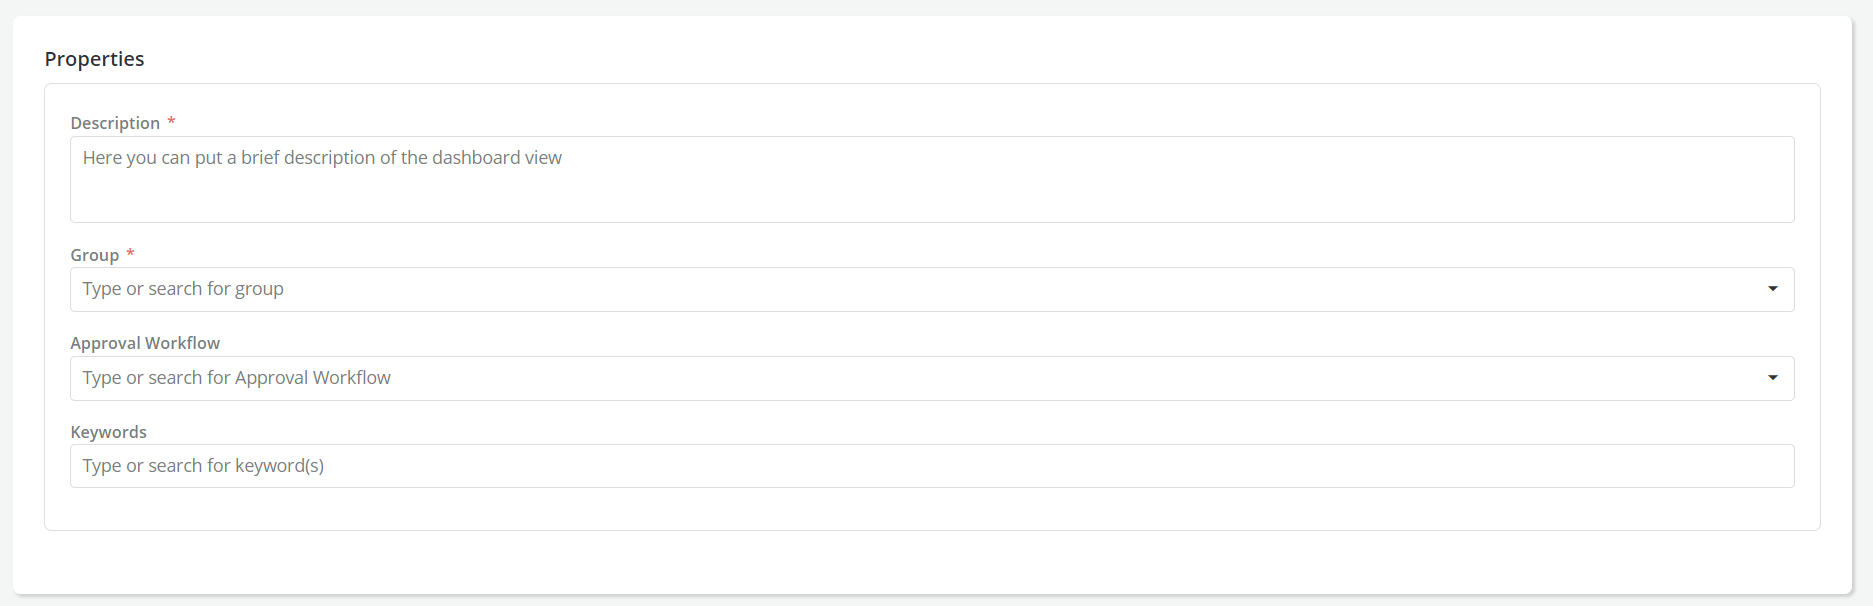
-
Update the Tabs section with required fields marked with
* - Select Report Name from the dropdown list of reports filtered for the object type
- Select Output from the dropdown list of outputs associated with the Report
- Select Width and Height for the objects
-
Create additional tabs by clicking on Add Report Tab
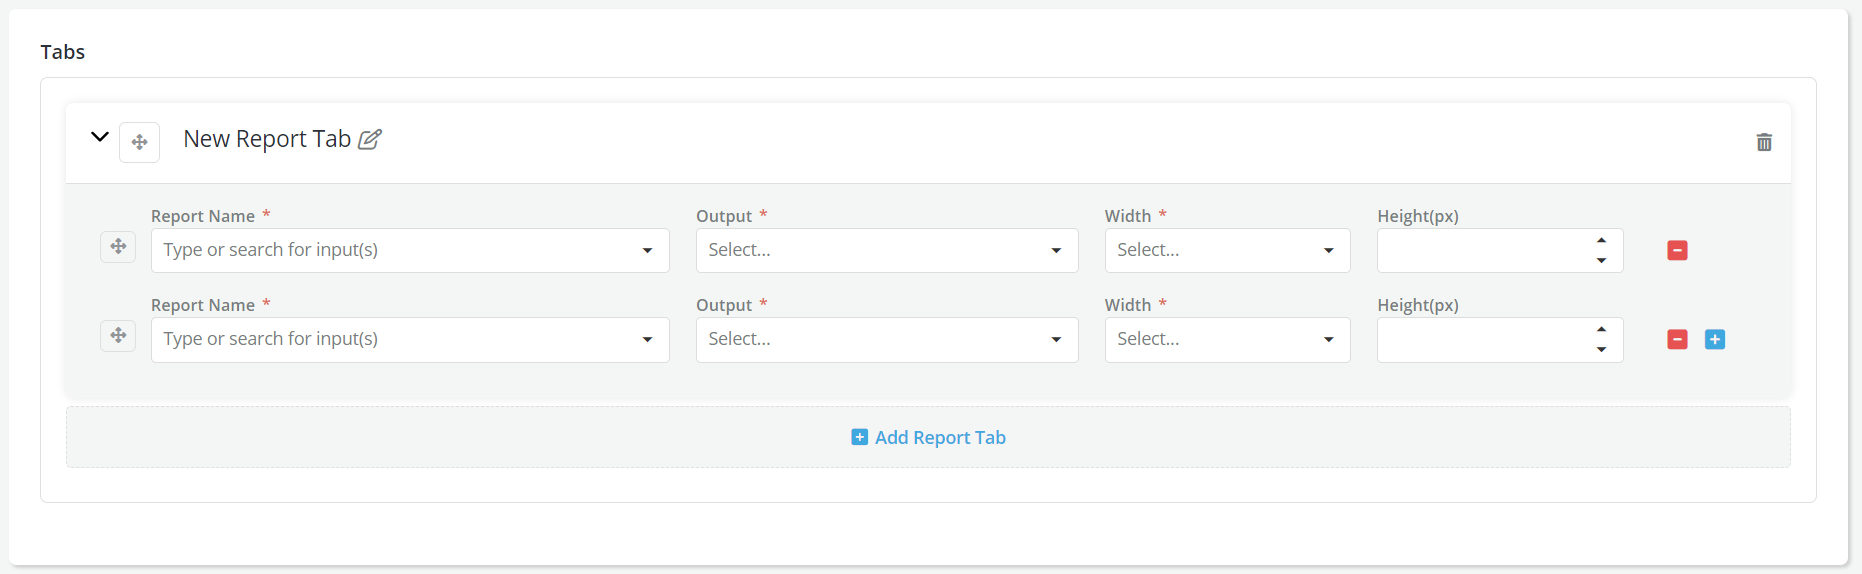
-
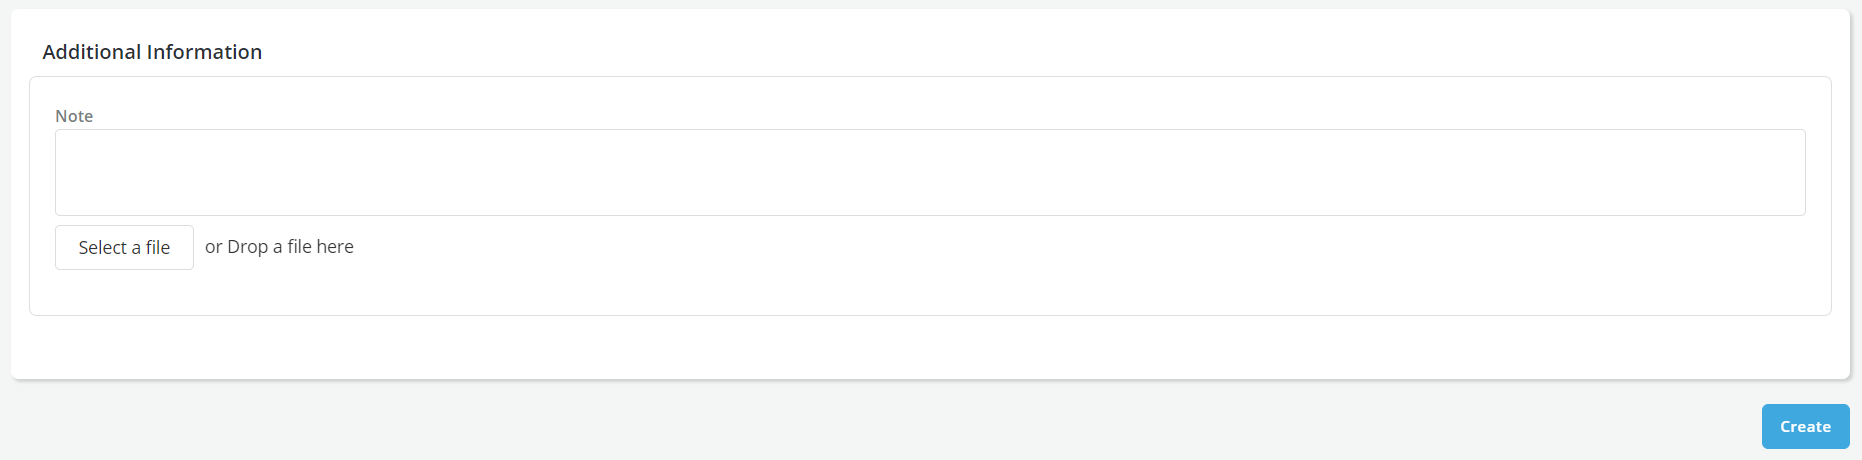
Update the Add-Ons section to include Monitoring Metric and Downloadable Data type outputs

-
Click on Create
-
A message is displayed for successful record save
-
Once a Dashboard View is created it can be edited, copied or shared with other users
-
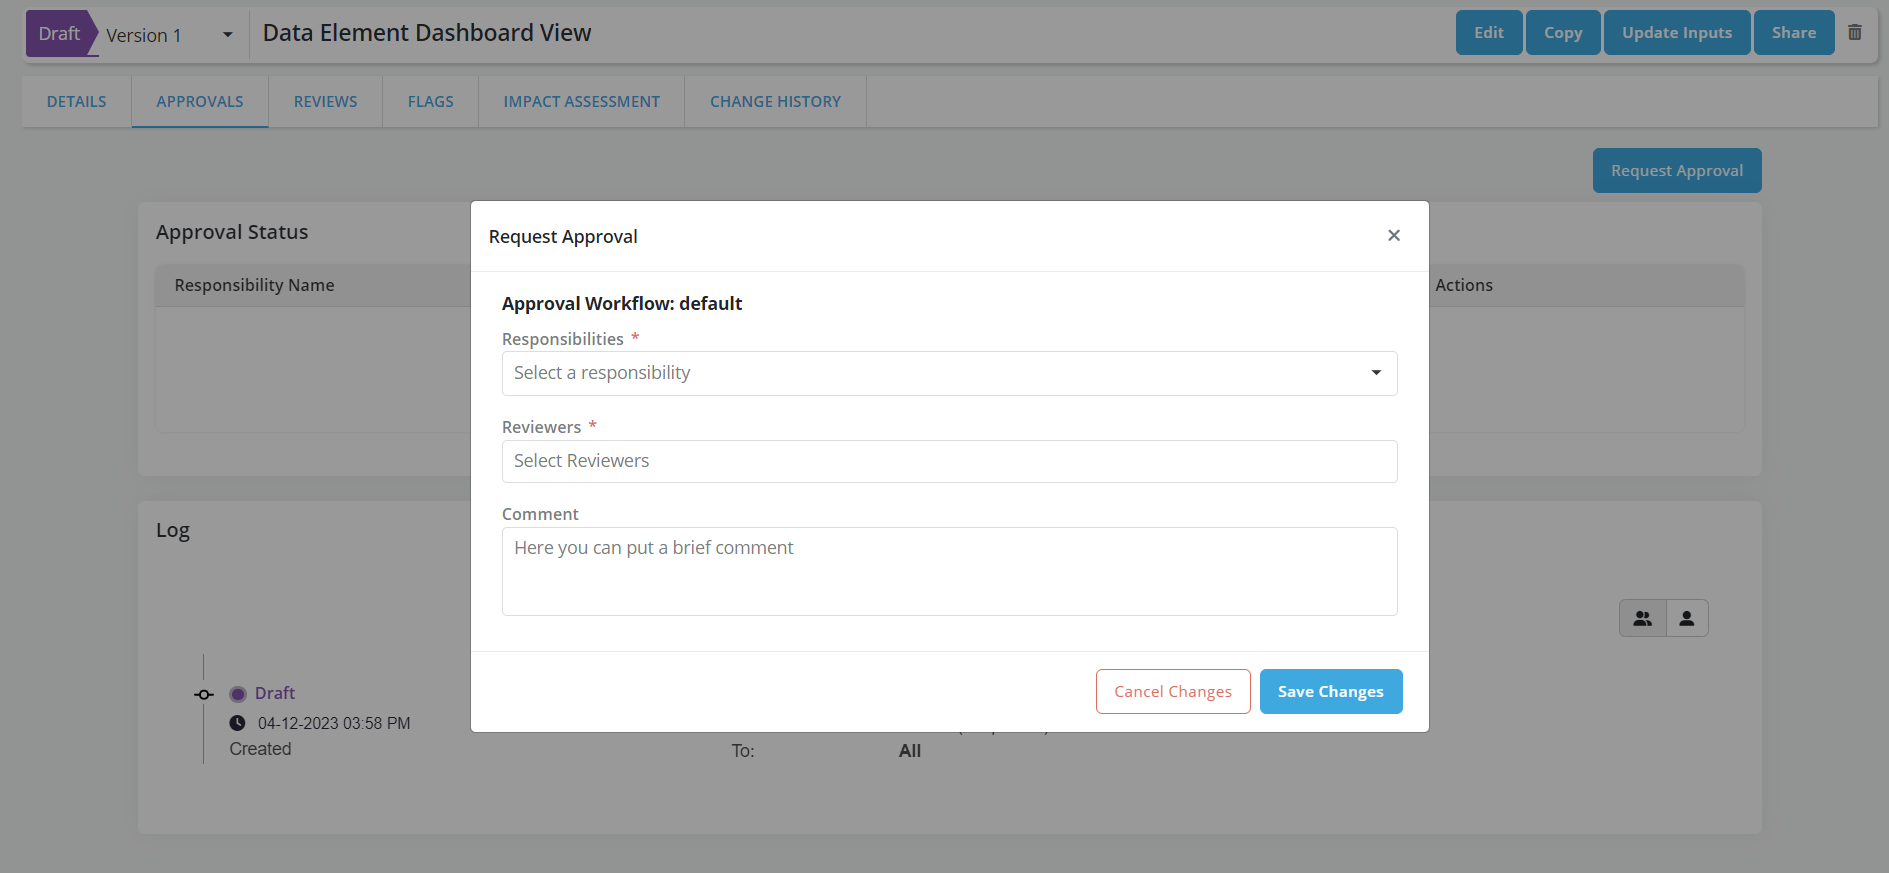
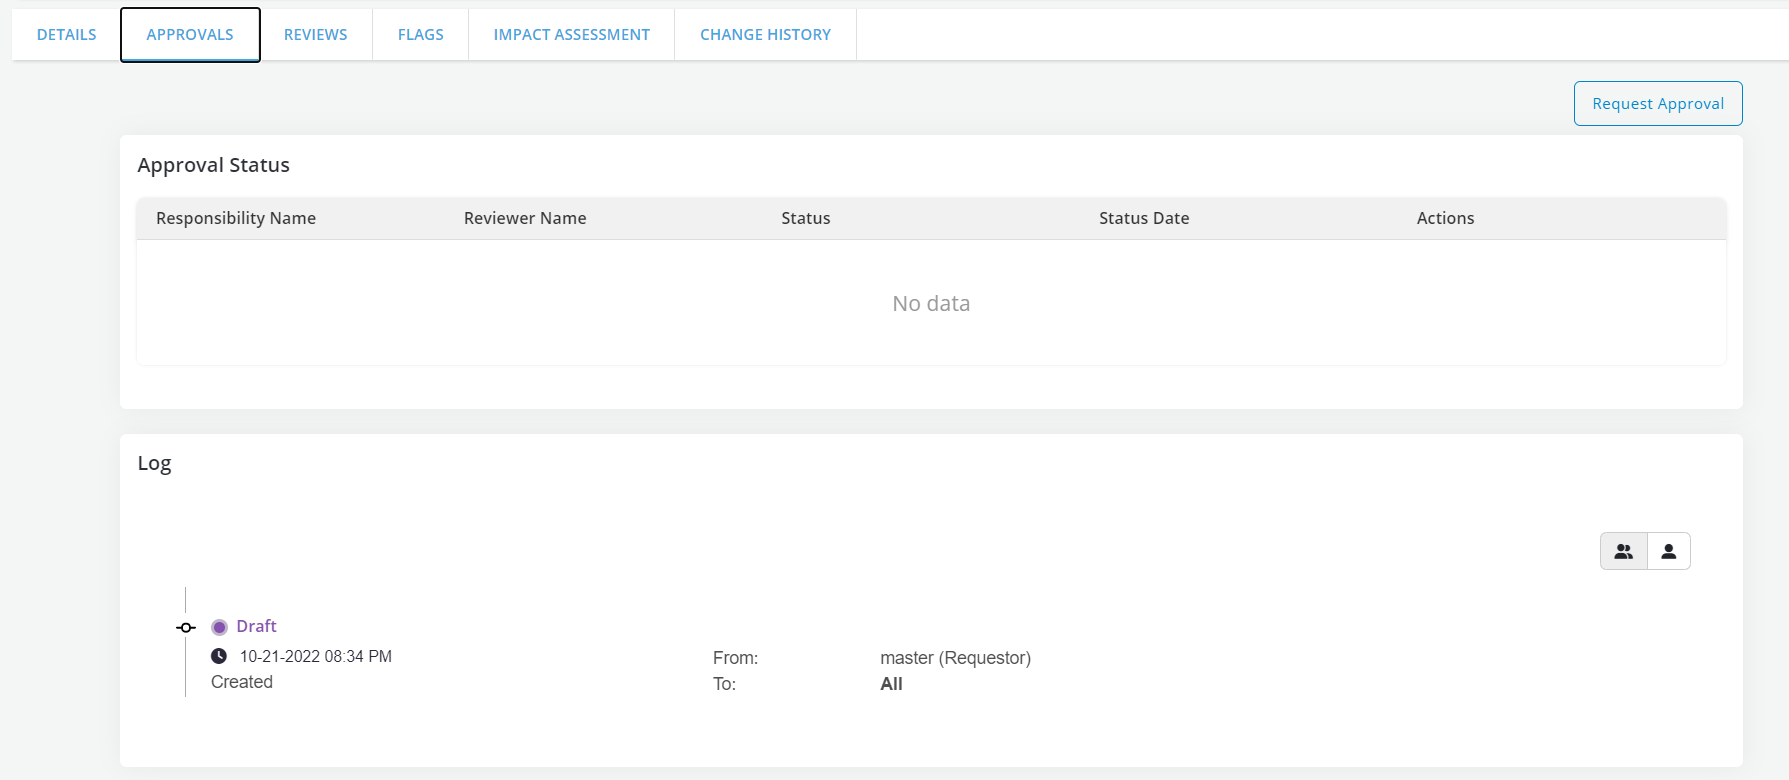
Send the Dashboard View for approval
- Go to Approvals tab and click on Request Review to send the Dashboard View for approval
- A flag can be added to a Dashboard View. Refer Flags for details.
- Capture required details and click on Save Changes
- Refer Approval Workflow for details.