Training And Validation Data (In Model Registry)
Overview
At the time of Model registry, Training and Validation information can be captured in the Additional Information section that will be presented to the approver. This includes information about the training and validation samples used, to develop the model.
How to create Training and Validation data
To add training and validation datasets information click on one of the radio buttons to use the right option:
- None: This implies that no training or validation dataset information will be registered

-
Upload Files: Training and validation files/data can directly be uploaded into the platform from the local directory.
- Select the Upload Files radio button
- Click on Select file
- Choose and open the appropriate file from the browser
- Multiple files can be added to this section. Maximum 20 files can be added here
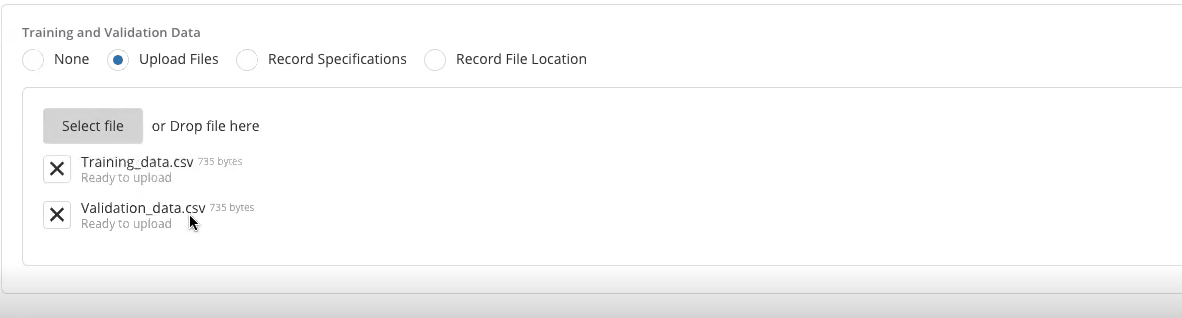
- Scroll down and click on Create
- The pop-up message is displayed of successful saving of the Validation

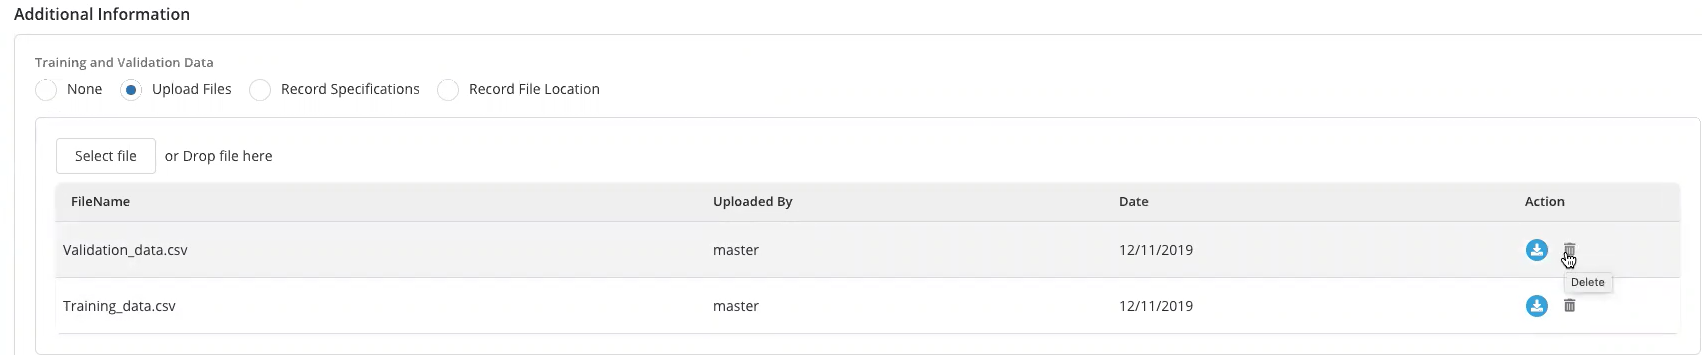
- It can be seen that files are appended to the model
- Click on the blue icon to download the file (if needed)

- To further add or delete the file, scroll up and click on Edit

- Scroll down and click on the bin icon to delete the file
-
Record Specification: User can add specifications of how to create the training and validation datasets
- Click on Record Specifications
- Select the Split By field (Random split is currently the default option in the system)
- Data set is split into Train % data set and Validation % data set. Sum of these fields is always 100%

-
Select appropriate Date Field to specify the date range
-
Enter the date range - From Date and To Date
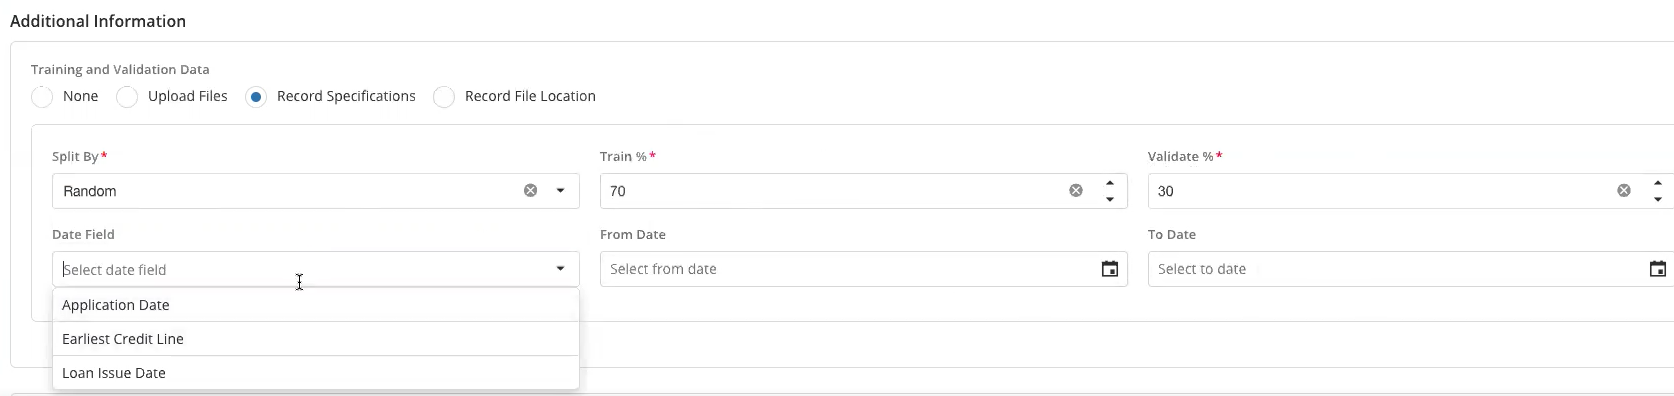
- Scroll down to click on Create. The file created in this model will be randomly split between training and validation (with the specified % split) and for the period specified by the date range. The file will have 2 sets of columns: Model Inputs and Dependent as selected in the earlier steps of the registration

-
Record File Location: Specify the files' location. Multiple locations can be added. The files' location should be in the data lake that the platform is reading from
- Click on Add
- Enter the file location. Multiple file locations can be added here
- Scroll down and click on Create
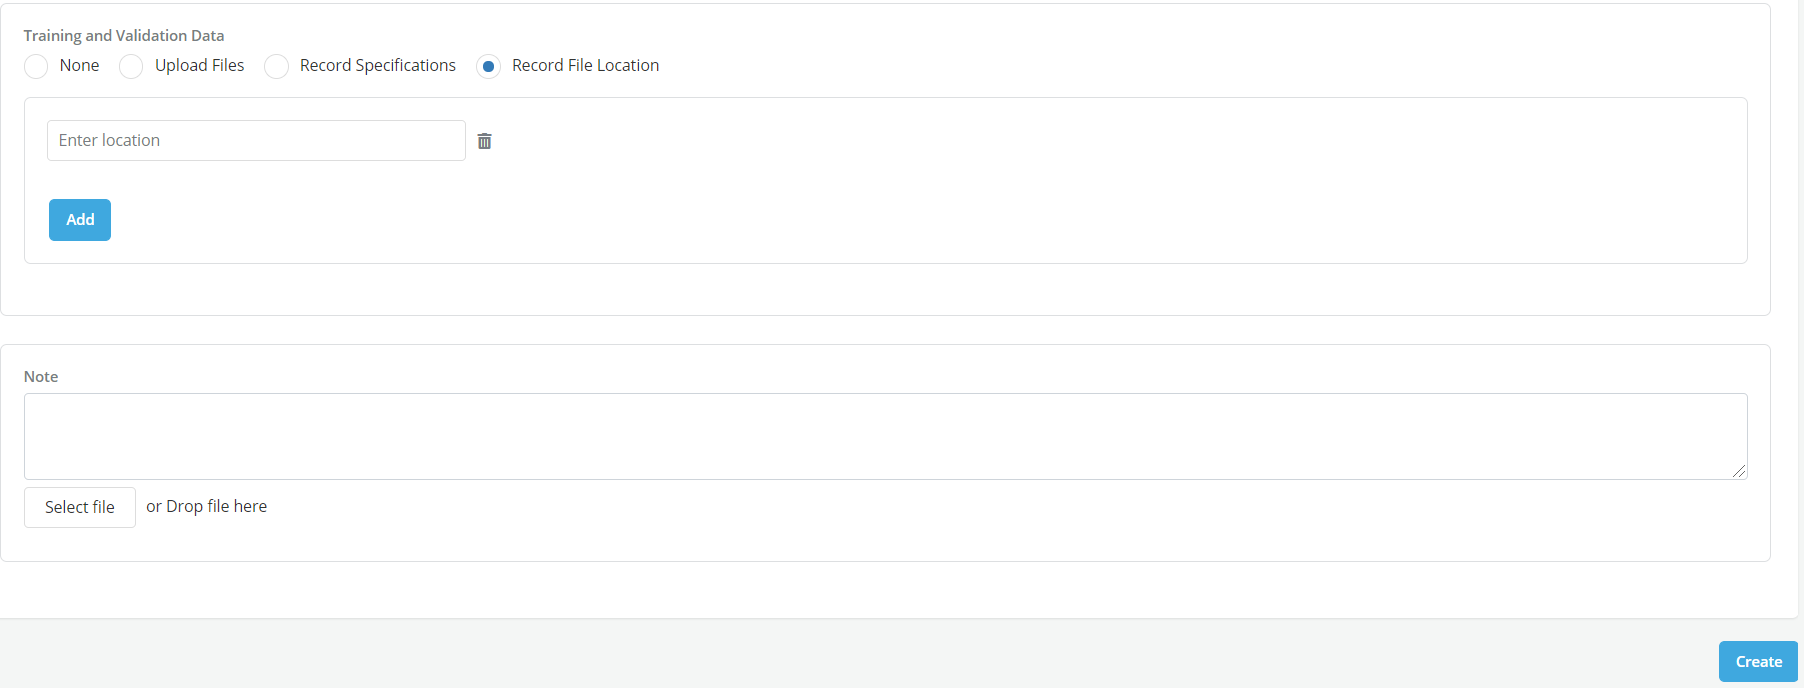
- Click on the Save button on the top right of the screen to save the model in model registry.
